World Class App Design

Prototypes from $3,995
(2 to 3 Weeks Delivery Time)
  • Develop an understanding of your business needs.
  • Evaluate what user needs are not being met.
  • Seek input from all stakeholder.
  • Incorporate all feedback in sketches and wireframes.
  • Get all stakeholders aligned.
  • Narrow down options and build a prototype.

Make Your App Idea a Reality with a Prototype
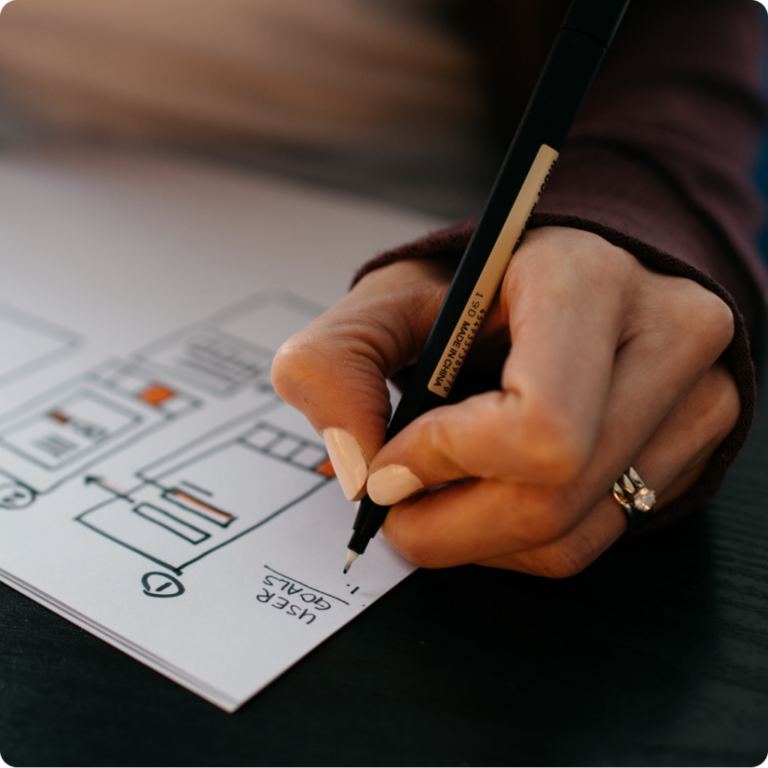
Sketch

Start with a simple sketch. It gets the main idea out. Requires minimal effort.
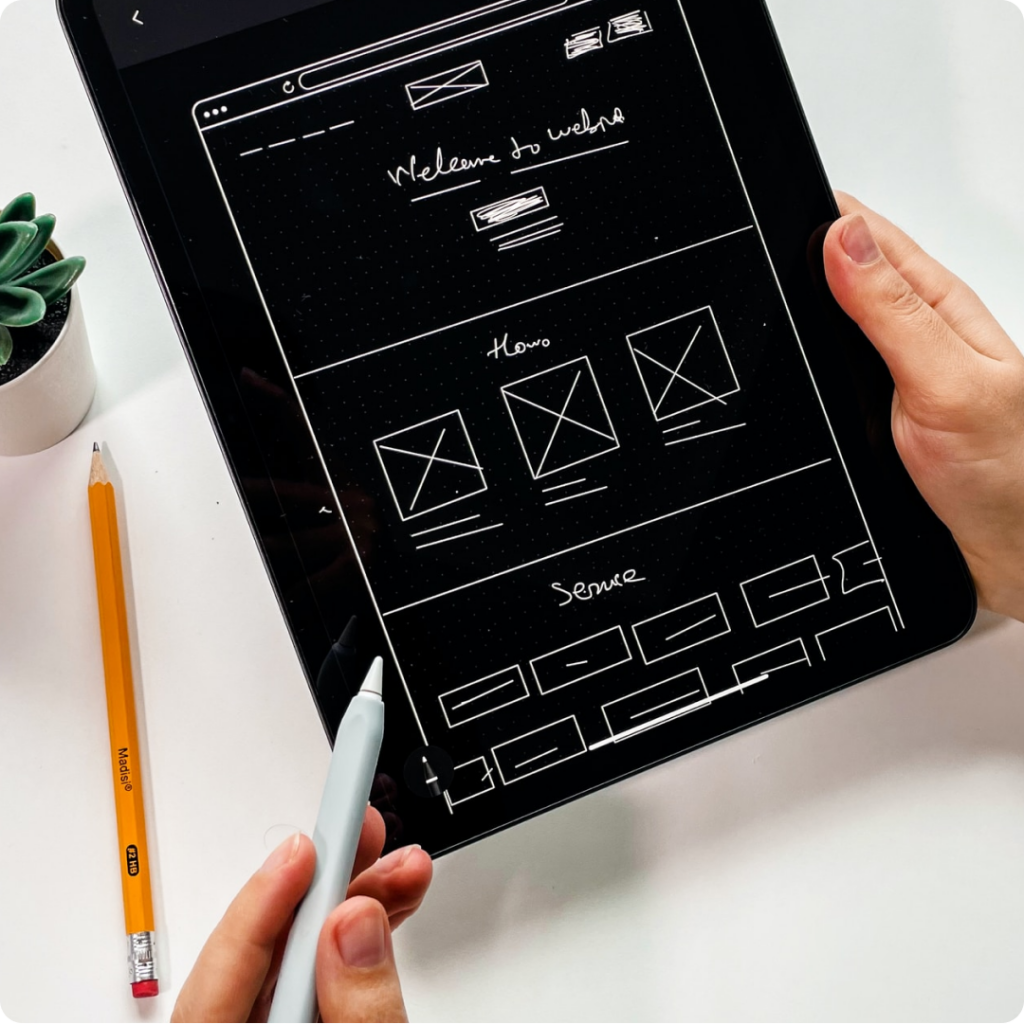
Wireframe

Create a wireframe. This is black and white. Simple to create and change.
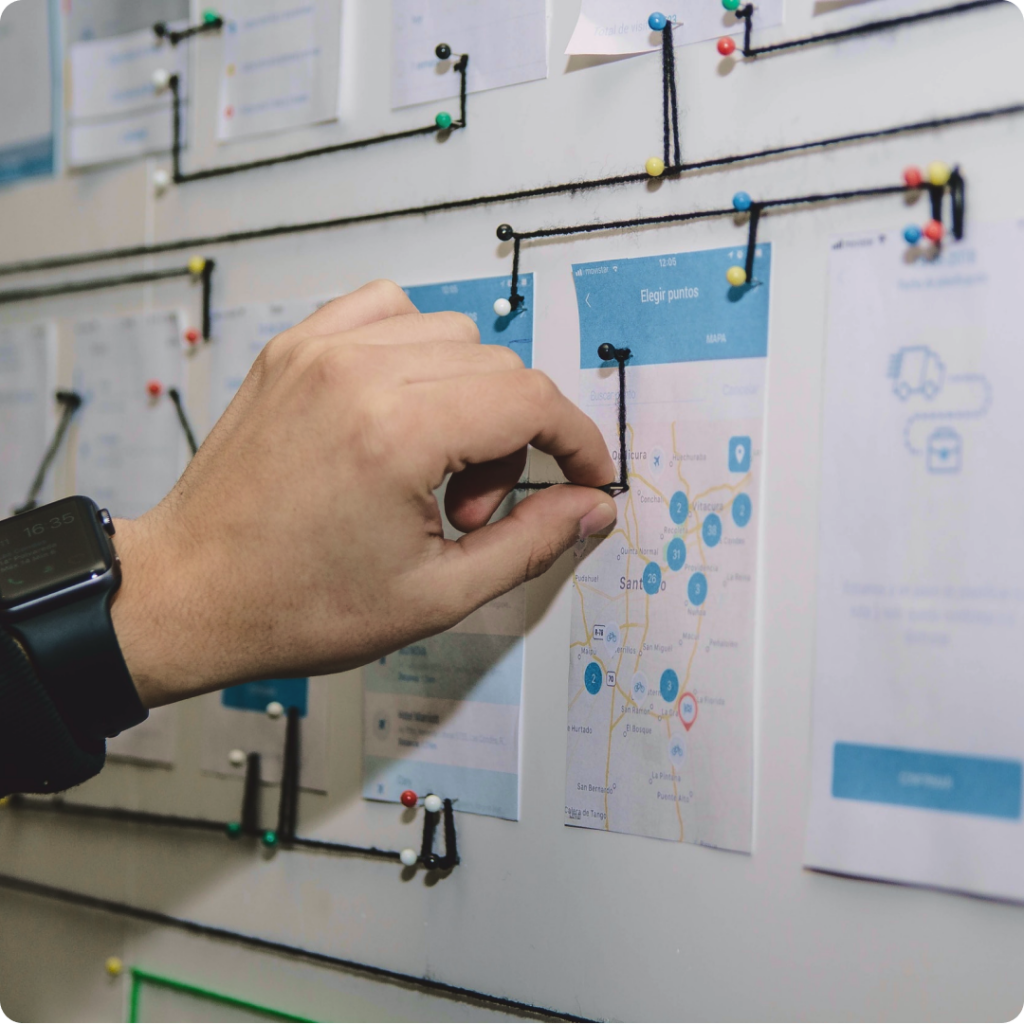
Storyboard

Create a storyboard. This outlines the user’s journey and shows how everything fits.
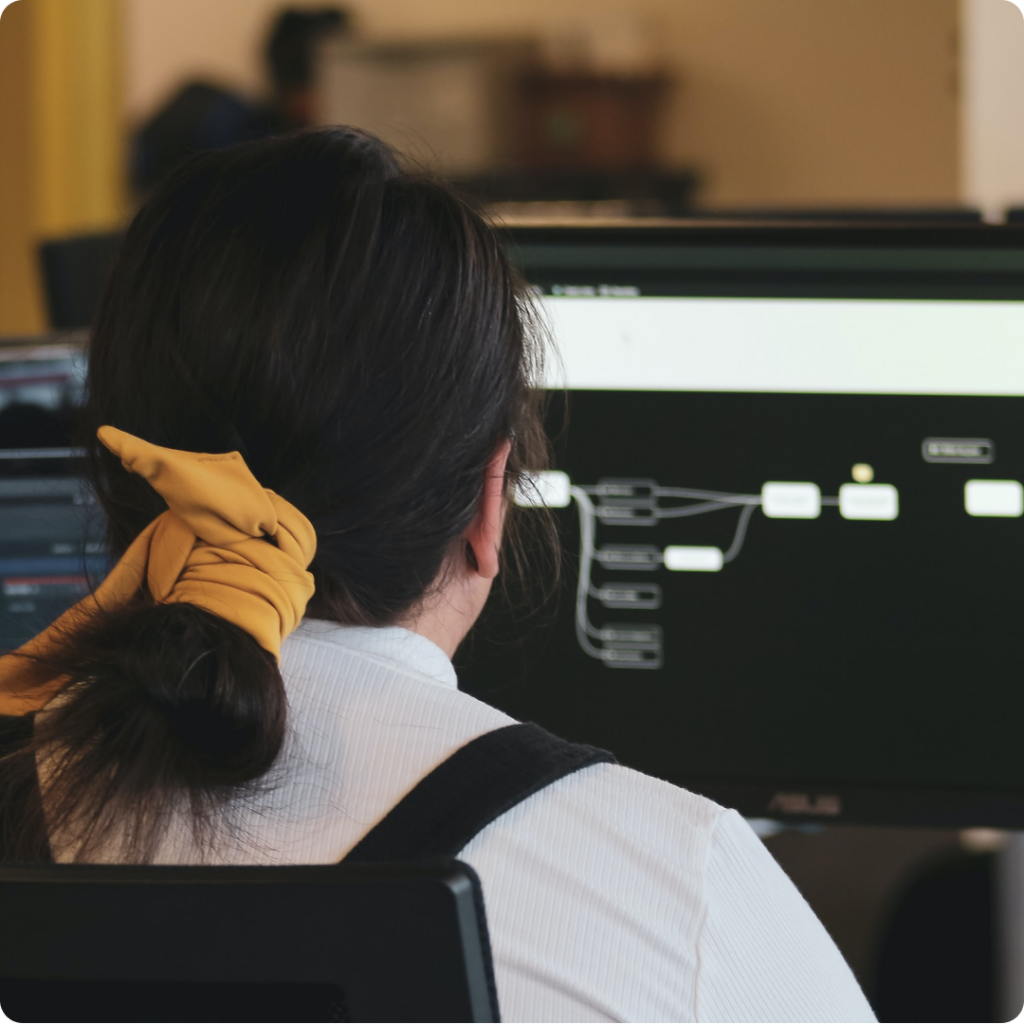
Prototype

A prototype includes all of the branding elements and clickable screens to help users get a feel for the app.

A Sketch

When it comes to developing a new app design, the process can simply begin with a hand-drawn sketch. This helps to get a visual representation of the app before any coding or design work begins. But how do you go about creating a hand-drawn sketch for an app? Here are the steps you need to follow:

  • Decide on the purpose of the app, outline the problem and user needs and wants.
  • Draft a basic layout of the app, including the Home screen and any other key screens. Think about how the user will navigate from one screen to another.
  • Show how the various elements will be arranged.
  • Draw elements like button labels and icons. At this stage, you should also start thinking about how the user will interact with the app and what sort of feedback they will receive.
  • Once you’re happy with your sketches, it’s time to start turning them into a reality by starting on the coding and design work.

FAQs

A sketch in app development is a simple drawing that conveys the overall look and feel of an app, without getting into too much detail.

We encourage sketching before wireframing because it’s a quick and easy way to get your ideas down on paper.

When you’re wireframing, you’re usually working with a wireframing tool and depending on the tool you are using, it can be difficult to convey your vision. With a sketch, you can experiment with different layout ideas, color schemes, and design elements without having to worry about making everything perfect. Plus, it’s just more fun!

Sketching can help identify issues with an interface early on, before too much time has been invested in the design. We encourage sketching before wireframing because it is a quick and easy way to explore different ideas. It also allows for more flexibility, as it is easier to make changes to a sketch than it is to a wireframe. Overall, sketching is a valuable tool that can help to improve the quality of an app development project.

A Wireframe

A wireframe is a skeletal outline of an app that includes the key screens and components necessary for the app to function. The following steps outline how to create a wireframe for an app:

  • Define the purpose of the app and identify the target audience.
  • Identify the key features that the app will need to include in order to achieve its purpose.
  • Create low-fidelity wireframes for each screen of the app.
  • Add annotations or notes to each wireframe to explain how the app will function.
  • Revise and refine the wireframes as needed.
  • Once the wireframes are complete, they can be used to start designing and developing the app.

FAQs

Wireframing is the creation of blueprints for a website or application. It is an important step in the design process, as it allows designers to map out the functionality and layout of a project.

Wireframing is an important part of app development because it helps to validate ideas and ensure that all stakeholders are aligned on the vision for the project. Since a wireframe is a low-fidelity representation of a design, it allows all stakeholders to effectively communicate ideas during the early stages of a project. This ensures that the wireframe accurately reflects the key elements of the design. Once the wireframe is complete, it can be used as a guide for developing the final product.

One effective way to create a wireframe is to take any hand drawn sketches and create a wireframe using simple shapes and lines. You can often omit fine details such as color and typography. You should simply focus on overall structure and layout, rather than on visual appearance.

There are many different wireframing tools available, ranging from simple wireframing kits to more sophisticated software programs. The important thing is to find a tool that meets your needs and allows you to create clear and concise wireframes. Wireframes are typically created using wireframing tools, which provide a variety of templates and features to help designers create high-quality wireframes. Common wireframing tools include Adobe XD, Figma, and Sketch. When creating a wireframe, designers should focus on the overall structure of the project, rather than on individual details.

A Storyboard

Storyboards can be helpful for both developers and clients, as they provide a clear overview of how the app will work. By following these steps, you can create a storyboard that will serve as a helpful guide during the app development process.

  • The first step is to come up with a high-level story. This story should outline the overall goal of the app and provide a general overview of the user’s journey.
  • Once you have a story, you can start storyboarding it out.
  • Begin by sketching out each wireframe screen in the story, starting with the opening screen.
  • Then, add annotations to explain what happens on each screen and how the user will interact with the app.
  • Finally, flesh out your storyboards by adding more details and refining the user experience.

FAQs

A storyboard is a tool used in app development to visually represent the user flow of an app.

Storyboards help to map out the functionality of an app and can be used to test user experience and identify potential issues. By storyboarding the app development process, developers can get a better sense of how the app will look and feel, and make sure that all the necessary features are included.

Creating a storyboard is relatively simple and can be done using any basic image editing software. To create a storyboard, developers use a series of simple illustrations or images to show how the app will work. Each storyboard element corresponds to a screen or action within the app. First, developers need to identify all the screens or actions that need to be included in the storyboard. Then, they can create simple images or illustrations for each element, making sure to include any important details such as buttons or navigation elements. Once all the storyboard elements are complete, they can be arranged in order to show the flow of the app.

A Prototype

A prototype is a working version of your app that you can use to test out ideas and get feedback from users. The goal of a prototype is to show exactly how the app will work before you spend time and money developing a final product. So how do you create a prototype? Here’s a step-by-step guide

  • Decide what features were finalized from previous steps. Keep it focused on the core functionality of your app.
  • Add all elements in your app’s interface. This will help you visualize how users will interact with your app.
  • Create all screens and buttons with sample data for each screen in your app and show the placement of buttons, links, and other elements.
  • Build a fully functional high quality prototype with all visual elements and make sure it functions as if this is the final product.
  • Test your prototype with real users and make changes based on their feedback.

FAQs

A prototype is an early version of an app that captures the look, feel, and functionality of the final product. They are typically used in user testing to gather feedback about the design.

Prototypes can be created using a variety of tools. The list is long. Some well known tools are FIGMA, InVision, Sketch and Adobe XD. The level of fidelity will vary depending on the tool and the purpose of the prototype.

Prototyping is an important part of the app development process because it allows developers to identify and fix problems early on. By testing the prototype, developers and stakeholders can find out what functionality to build before investing time and resources into developing the final product. This helps to ensure that the final product is of high quality and meets the needs of users..

Ready to Work With US?

We want to work with like-minded clients on difficult problems that technology can help solve. Reach out and share some basic details of what you are struggling with. Let’s see what we can build together.